apixo_setup → sign in and approve in your browser → call apixo_finish_setup → use APIXO tools. You do not need to create, copy, or paste an API key for this flow.
Before you start
- Node.js
>= 20and npm>= 9(the server runs withnpx) - An MCP-compatible client, such as Cursor, Claude Code, Codex CLI, Claude Desktop, Windsurf, Cline, Continue, or Zed
- A browser where you can sign in to your APIXO account and approve the device
The package is
@apixo/mcp-server. npx -y @apixo/mcp-server downloads the current release when needed; you do not install it globally.Step 1: Register the MCP server
Register the server withoutAPIXO_API_KEY. The browser setup in the next step creates and stores the credential for this installation.
- Cursor
- Claude Code
- Codex CLI
- Other MCP clients
Open or create
~/.cursor/mcp.json (Windows: %USERPROFILE%\.cursor\mcp.json) and add an entry under mcpServers: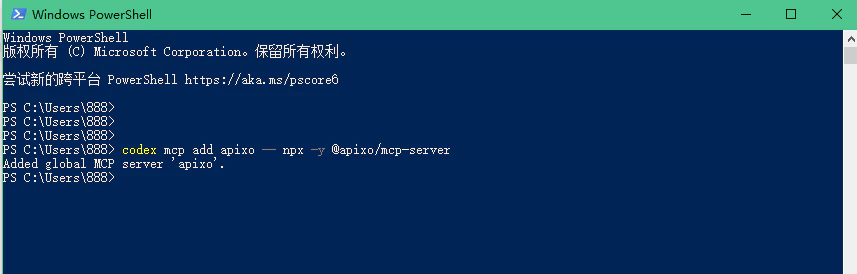
Step 2: Start browser setup
Reload or restart your MCP client so it launches the new server. In a new conversation, ask the client to call the setup tool:apixo_setup opens the verification URL in your browser when possible. If it cannot open a browser, use the verification_url returned by the tool.
Step 3: Sign in and approve the device
In the browser, sign in to APIXO if prompted, review the device approval request, and approve it. Return to the same MCP client conversation after the browser confirms success. The API key created for this installation is kept in the MCP server’s private local credential store. It is not shown in the browser-setup tool response or in your chat.Step 4: Finish setup
Ask the client to complete the pending approval:apixo_finish_setup again. A successful response reports that the local installation is configured; it does not reveal the credential.
Step 5: Verify and use the tools
First, check that the MCP registration is present:- Claude Code
- Codex CLI
- Other clients

apixo_get_batch_integration_guide. Review the guide before using apixo_submit_batch or apixo_get_batch_status in your application.
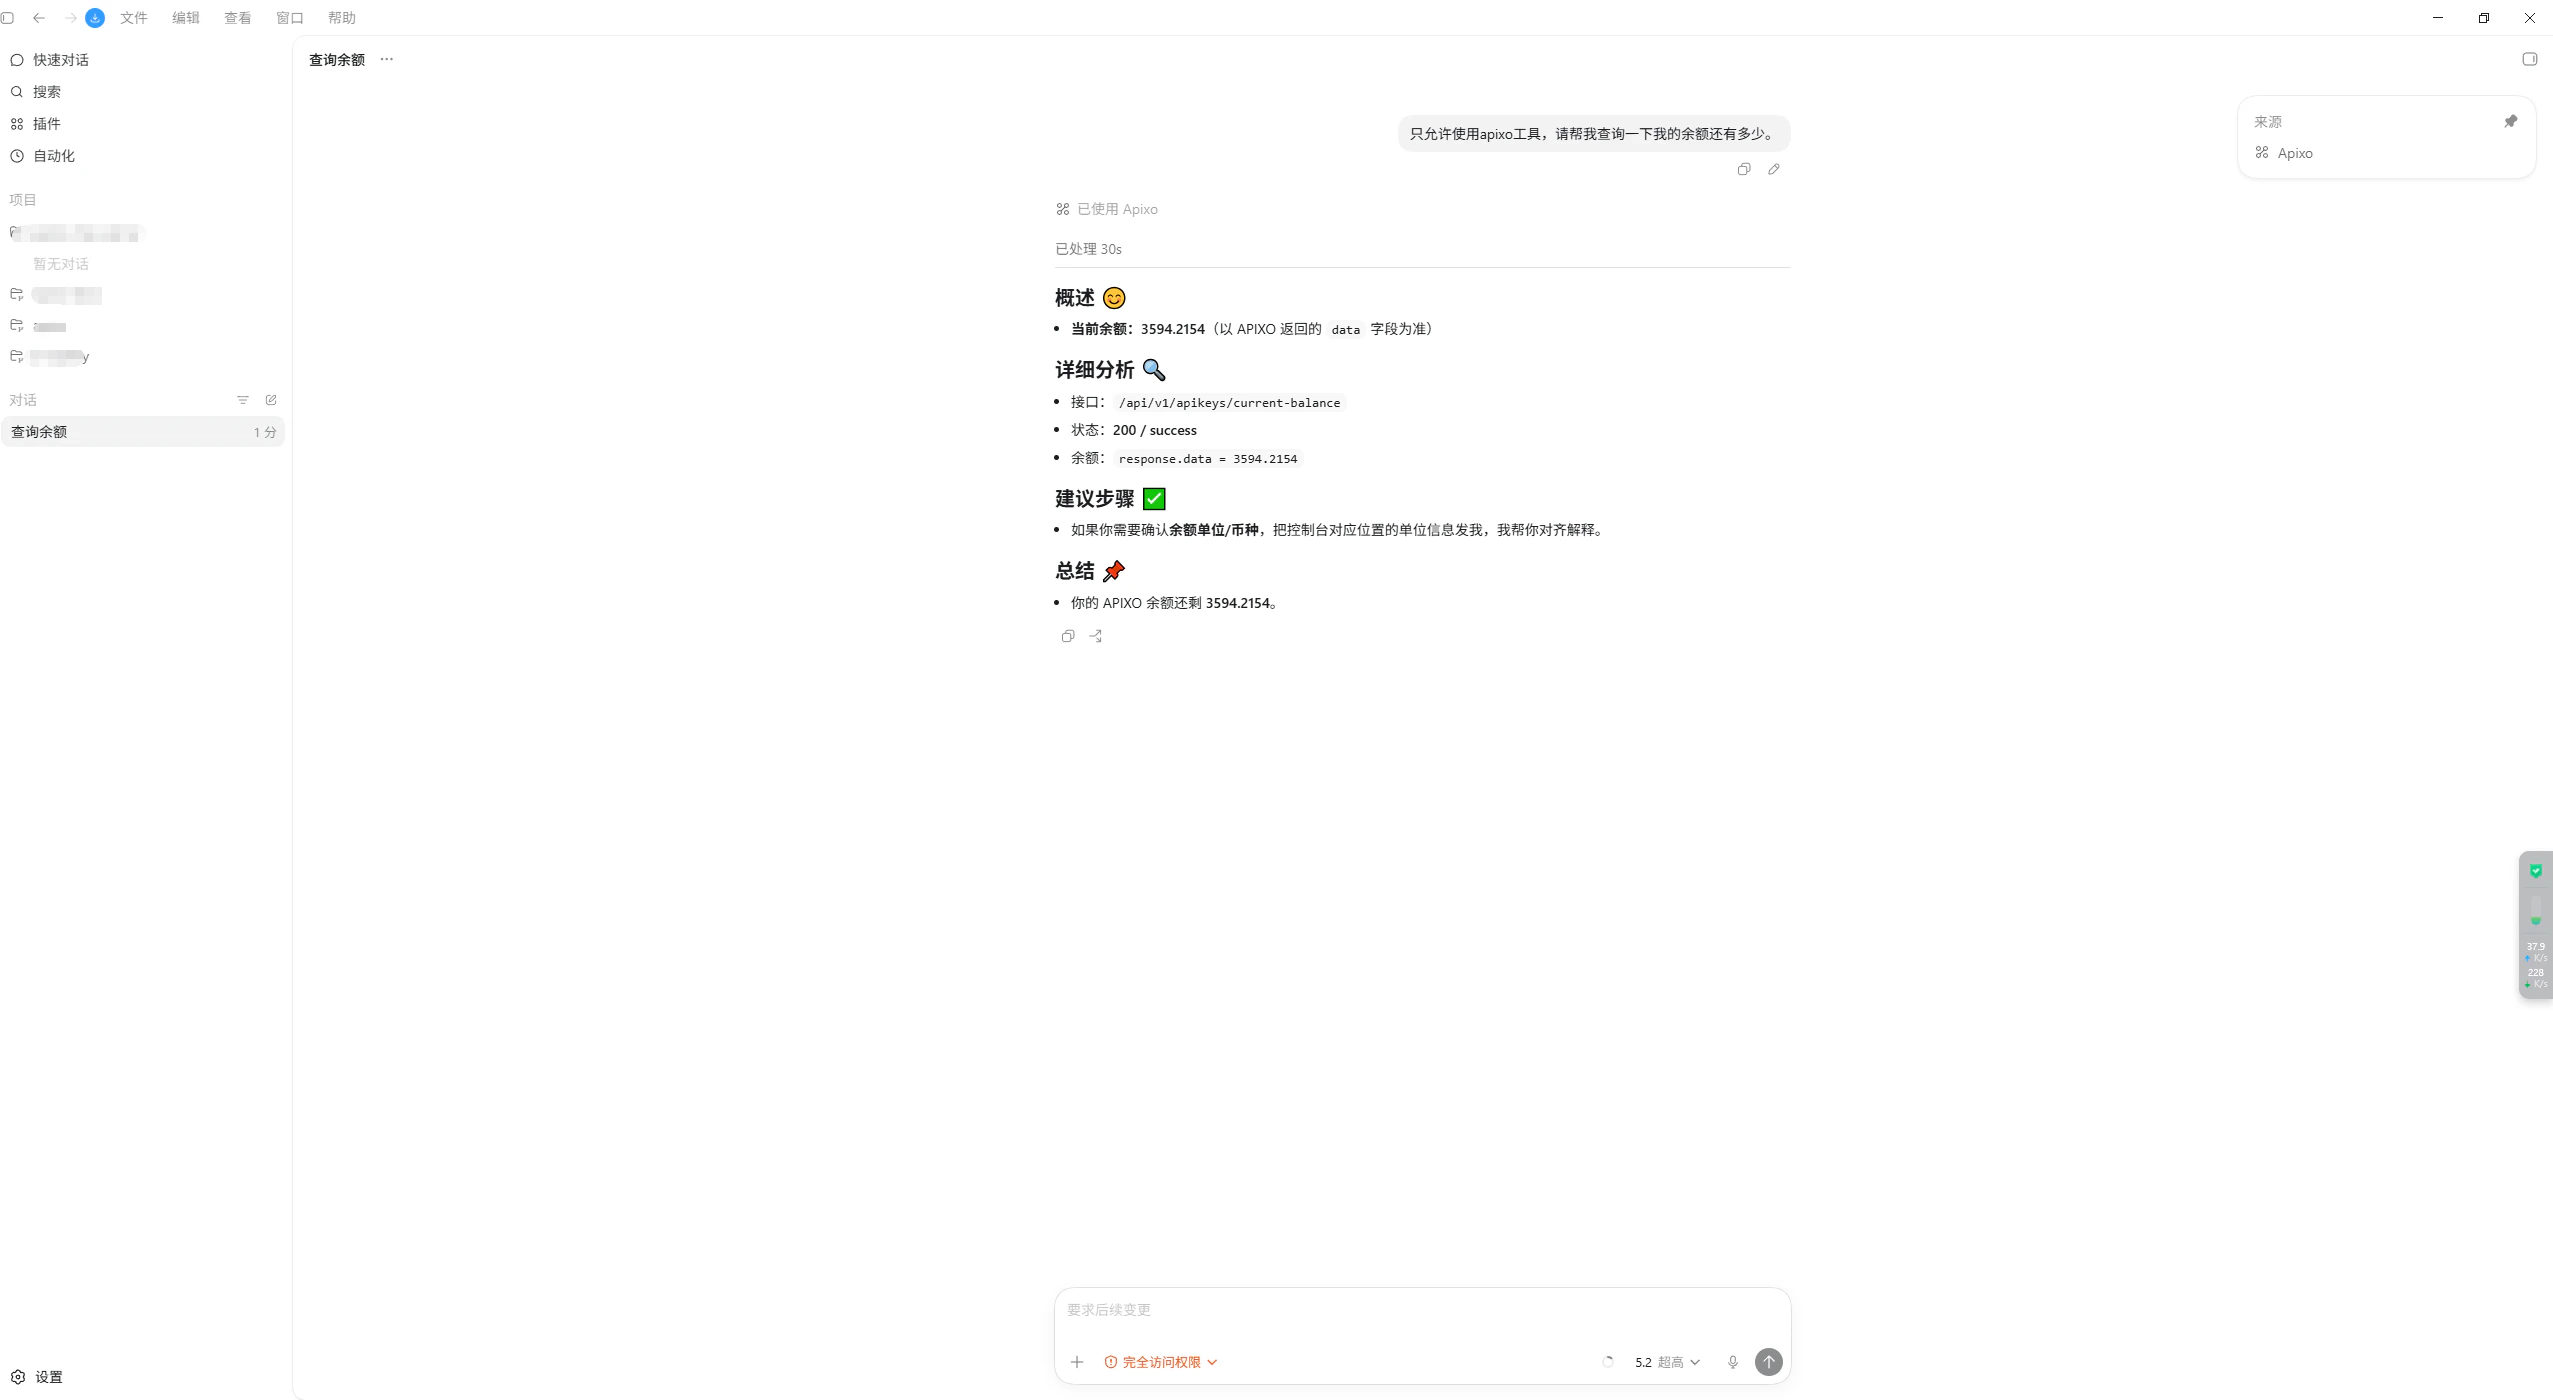
Revoke a device connection
To formally disconnect an MCP installation, open Dashboard → API Keys and revoke the device key whose name follows this format:Advanced: manually supply APIXO_API_KEY
Use this only when browser approval is not practical: CI, another browserless environment, or local development debugging. An explicitly configured APIXO_API_KEY takes precedence over the browser-created local credential.
For example, a CI-only server configuration can include the secret in its environment:
Next steps
What APIXO MCP can do
Browse the tool overview and MCP capabilities.
Troubleshooting
Fix browser setup, Node.js, and client connection problems.
Generation API reference
Learn the REST task flow your application will call in production.
Browse models
Explore model capabilities and inputs.